Step 2: TV Setup

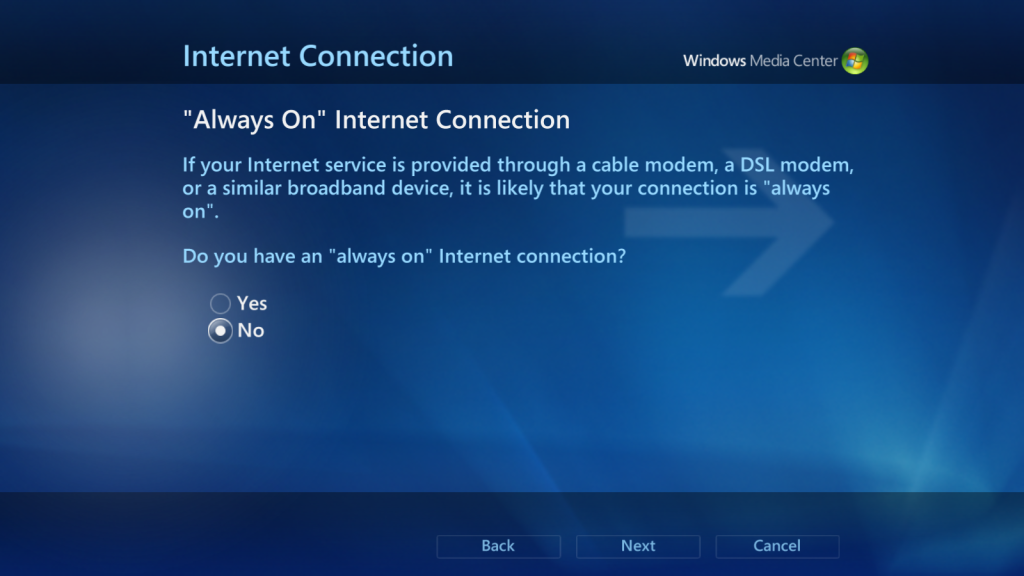
With the end of guide support from Microsoft, it will be necessary to change the internet connection setup to not always on in order to avoid hang-ups during TV Setup. This setting can be restored after TV Setup with little/no benefit.

    Setup Internet Connection
  1. If the ‘Automatically proceed to next step’ option is not active, click the [Step 2: TV Setup] button when it becomes enabled to open WMC.
  2. Select [Set Up Internet Connection] from the Windows Media Center Setup page.
  3. Select 'No' to having an "always on" Internet connection, then any [Next] and [Finish] buttons to return to the Windows Media Center Setup page.
    Setup TV Tuners in WMC
  1. Select [Set Up TV Signal].
  2. Proceed with TV Setup as normal. You can agree to the ‘Program Guide Terms of Service’. Also, since the internet connection is "off," WMC will not try to update/download TV setup data.

NOTE: If you have 5 or more tuners of any type (ATSC, ClearQAM, Cable, Digital Cable, DVB-T, DVB-S, DVB-C, etc.) and WMC TV Setup will only allow a maximum of 4 to be used, then the tuner limit increase tweak applied in Step 1 was overwritten. Exit WMC and EPG123 will verify the failed tweak and offer to apply it again to restart Step 2 from the beginning. To begin TV Setup in WMC again, select settings > TV > TV Signal > Set Up TV Signal and click the [Yes] button.

NOTE: For CableCARD™ users, the activation and pairing of the card with the tuner remains valid even after performing Step 1. For all the setup pages related to activating the CableCARD™, just select the (Yes) bubbles and click the [Next] buttons to proceed. It will not be necessary to contact your cable provider to re-activate the card.

  1. For those with ATSC Over-the-Air (OTA) tuners and using Windows 7, additional setup will be required in order to receive your local VHF channels. Refer to Add WMC Channels.
  2. Complete TV Setup and close Windows Media Center.

© Copyright 2021 GaRyan2. All Rights Reserved.

Created with ‌

Mobirise